

1. First sign-in
Morada OS uses your company’s corporate login (Morada SSO). Only people authorized by your organization can get in.1
Open the official address
In your browser, go to os.morada.ai.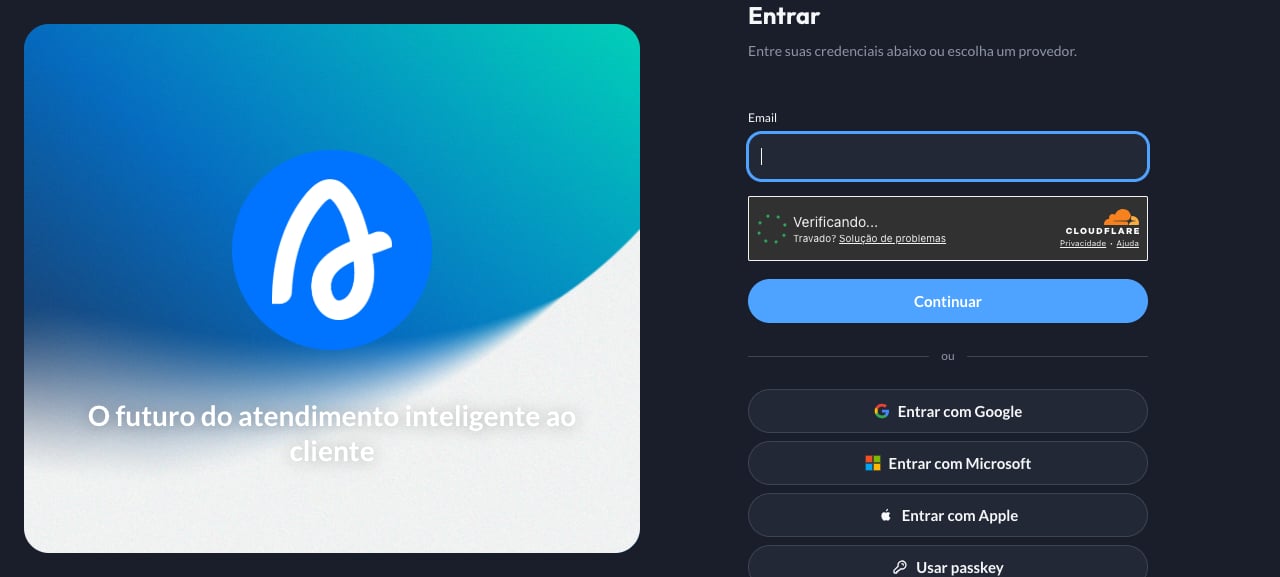
2
Sign in with your corporate account
Use your corporate email or your company’s login (Google or Microsoft).
3
Pick your workspace
Workspaces are your company’s work areas, usually one per team (for example, Sales, Projects, Leadership). Pick yours.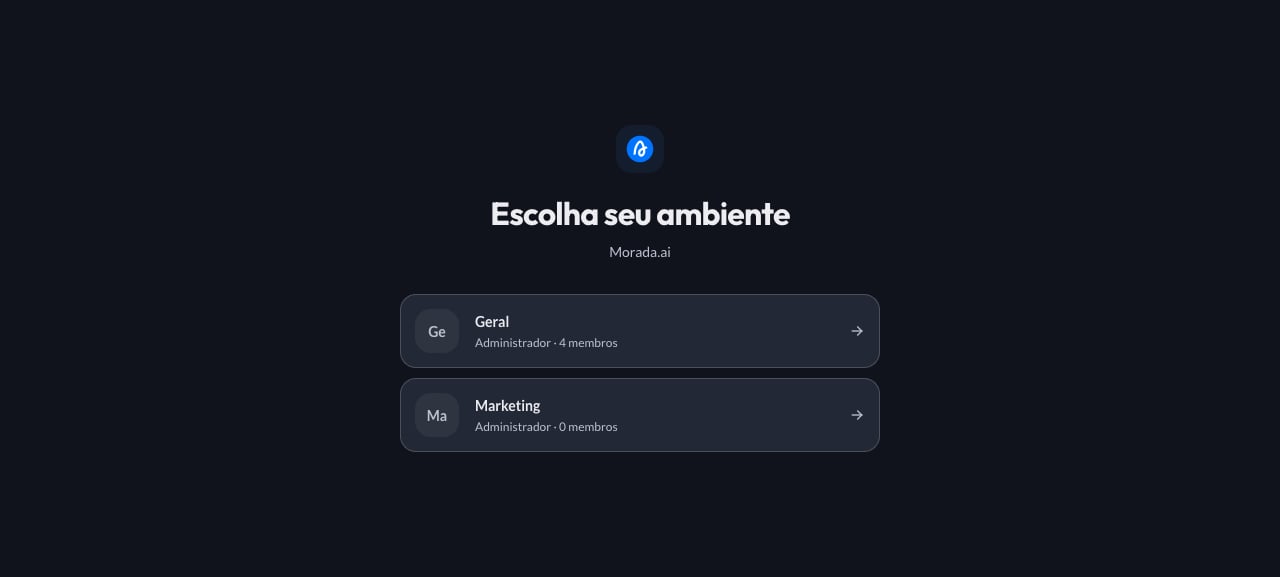
If you have access to a single workspace, you land in it directly.
2. Connect your tools
Morada OS connects to the tools your team already uses: Google Workspace (Gmail, Calendar, Drive), Microsoft 365 (Outlook, Teams, OneDrive), Notion, and HubSpot. Once connected, you can ask things like “summarize today’s emails” or “what meetings do I have tomorrow?”.1
Open the connectors
In the side menu, click Conectores (Connectors). The page shows the available accounts and systems.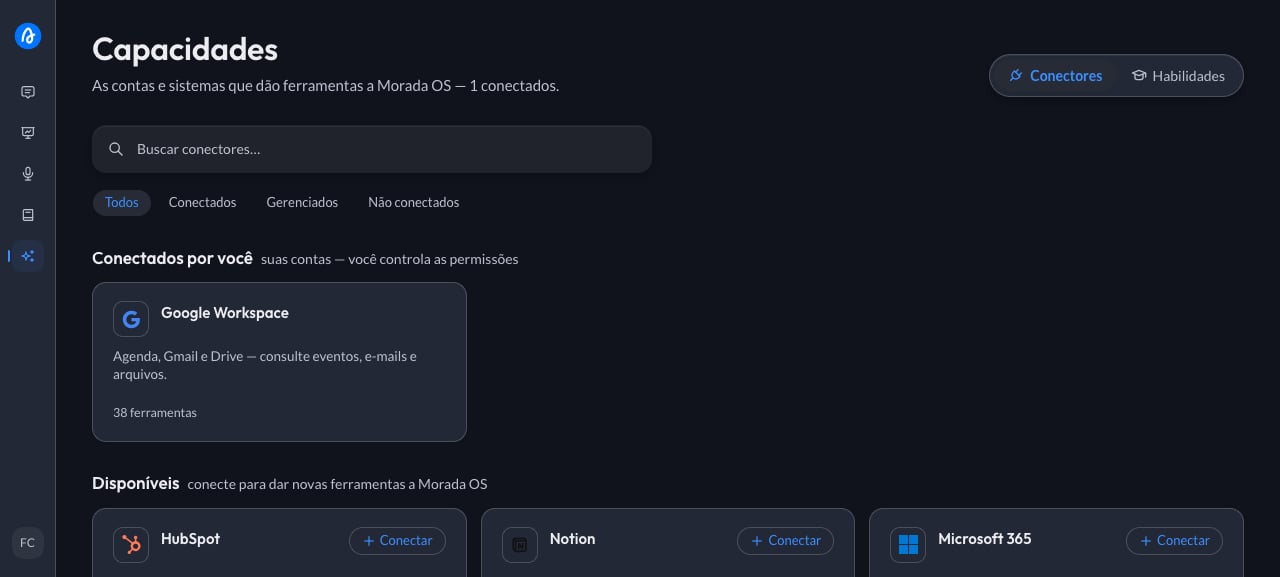
2
Pick the tool
Find the tool you want to connect (for example, Google Workspace) and click Conectar (Connect).
3
Authorize access
A secure window from the provider itself (Google, Microsoft, Notion, or HubSpot) opens asking for your authorization. It’s the same kind of screen you see when signing in to a site “with your Google account”.
What each connector can access
4
Ready to use
When you finish, the tool appears under Conectados por você (Connected by you), showing how many tools it provides. From then on the assistant can look up that information whenever you ask.
3. You approve before it happens
To prevent accidental actions, anything that changes something outside Morada OS (sending an email, updating the CRM, messaging on Teams) goes through your approval. It works like this: you ask, the assistant prepares the action and shows a card with every detail (recipient, subject, content). Nothing happens until you click Aprovar (Approve). You can also adjust the request or cancel.4. Analyze spreadsheets and documents
Upload files directly in the chat and ask for whatever you need: analyses, calculations, summaries, comparisons, or new files.- Supported formats: Excel spreadsheets (
.xlsx) and.csv, Word documents (.docx), PowerPoint presentations (.pptx), PDFs, images, and audio files. - What you can ask for: feasibility studies, financial projections (sales volume, NPV, IRR), sales table consolidation, cross-referencing spreadsheets, and generating new Excel files and ready-to-share reports.
5. Search the web
When the answer isn’t in your files or in your connected tools, the assistant searches the web. This is on by default: there’s nothing to connect and nothing to set up.- The answer shows its source. Every piece of information comes with the link it came from, so you can check it before using it in a proposal or in a conversation with a client.
- You can narrow the search. Ask for a period (“only consider the last six months”) or a kind of source (news, company websites, publications).
- You can paste a link. If you already have the address of a page or a public PDF, paste it into the chat and ask for the summary, the numbers, or just the part you care about. A page behind a login or that only builds its text after loading can come back empty, and a very long document comes back truncated: when that happens, ask for one part at a time. The step by step is in the recipe Read a page or a PDF from a link.
6. How to disconnect a tool
You can unlink an account or revoke a tool’s access at any time:1
Open the connectors
Go to Conectores (Connectors) in the side menu.
2
Unlink the account
Open the connected tool’s card and click Desvincular (Unlink).
3
Confirm
Confirm the action. The authorization is deleted immediately and the assistant loses access to your data in that service.
Unlinking in Morada OS removes access on Morada’s side. To also revoke it on the provider’s side, open the security settings of your Google or Microsoft account.
7. Troubleshooting
Connecting Microsoft 365 shows 'Needs admin approval'
Connecting Microsoft 365 shows 'Needs admin approval'
Some companies require IT approval before a new application can be used. Forward your company’s IT team the Microsoft 365 administrator guide: it takes about 15 minutes and shows exactly what to approve and what to release.
My file wasn't processed
My file wasn't processed
- Check that the file doesn’t exceed the workspace size limit (50 MB per attachment).
- Make sure the file isn’t password protected or corrupted.
The assistant can't find a document in the Brain
The assistant can't find a document in the Brain
- Confirm the document was added to the organization’s library or to the right workspace.
- Documents in another person’s Personal Space are private: only the owner can query them.
I pasted a link and it came back empty
I pasted a link and it came back empty
- Check that the page opens for anyone: content behind a login (an intranet, a subscription portal) can’t be read.
- Some pages only build their text after loading and can come back empty. Copy the text and paste it straight into the chat, or save the page as a PDF and upload the file.
- If only part of the content came through, the document is too long for a single answer: ask for one section at a time.
Support channels
Support channels
- Support center: support.morada.ai
- Email:
suporte@morada.ai - Platform status: status.morada.ai
All set? Now see what you can do
Use cases
Ready-made recipes for the day-to-day: copy the request, paste it into the chat, and adapt it to your reality.